
The Pros and Cons of PEX Connections
What to know about the five different fitting systems.
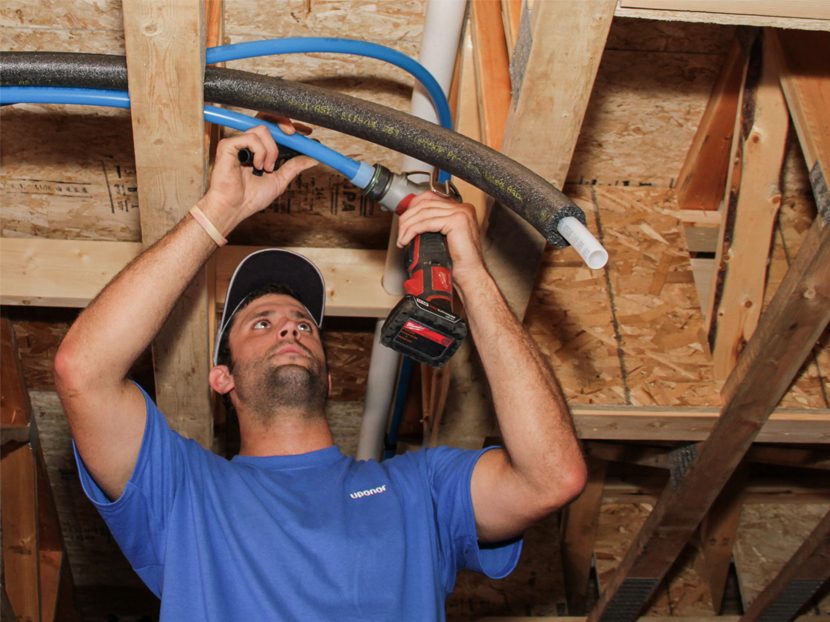
With its flexibility, durability, long coil lengths and lighter weight, PEX has quickly become the preferred piping choice for residential plumbing and commercial domestic water systems, including risers, distribution piping, in-suite and even underground applications.
Its resistance to freeze damage as well as corrosion, pitting and scaling makes PEX the most durable piping product on the market today. Its flexibility minimizes connections by up to half in certain applications, making it one of the fastest piping installation methods available. Plus, connecting a PEX system is relatively easy to learn and quick to install.
Learn about the five PEX connection methods — crimp, clamp, push-to-connect, expansion and expansion with compression — and hear about the pros and cons of each to determine which fitting system will work best for your future piping projects.

Crimp
How it’s done:
- Slide a copper ring onto the pipe and then insert an ASTM F1807 (metal) or ASTM F2159 (plastic) fitting into the pipe.
- Slide the ring back toward the end of the pipe where the pipe and fitting overlap. This location varies with each manufacturer, so be sure to follow the manufacturer’s instructions.
- Compress the ring with a crimp tool until the tool stops.
- Use a go/no-go gauge to verify a proper connection (loose crimps = leaks; crimps that are too tight = fitting or pipe damage).
Pros: Fast and easy to learn, quick to install, relatively inexpensive, tools and products readily available at a variety of retailers.
Cons: Crimping works against the “shape memory” of PEX, which always wants to return to its natural shape. Without the confirmation of a go/no-go gauge, a loose crimp can potentially lead to leaks because the pipe is continually pressing against the ring. Additionally, the smaller internal diameter (ID) of the insert fitting reduces system flow and also opens up the potential for dry fits.
Clamp
How it’s done:
- Ensure the clamp tool is properly calibrated.
- Slide a stainless-steel ring onto the pipe.
- Insert an ASTM F2098 fitting into the pipe.
- Position the ring back over the pipe (position depends on the manufacturer’s recommendation).
- Compress the ring with a clamp tool until the tool stops.
Pros: Fast and easy to learn, quick to install, relatively inexpensive, tools and products readily available at a variety of retailers, easy to disassemble (in case the installer needs to remove the fitting), only needs one tool for any size connection (no need to purchase separate heads for different pipe sizes).
Cons: Like crimping, clamping also works against the shape-memory properties of PEX. Smaller-ID fittings restrict flow, and tool calibration is imperative to a proper connection (miscalibrated tools can result in leaks or damage to pipe or fittings).
Push-to-connect
How it’s done:
- Insert a stiffening sleeve into the pipe. Some manufacturers require an insert stiffener and some do not; be sure to follow the manufacturers’ installation recommendations.
- Push the pipe into the fitting.
Pros: Fast and easy to learn, quick to install, no special tools needed, easy fitting removal (if necessary).
Cons: Fittings must be wrapped in an impermeable material before direct burial in soil. Freeze tests and pull tests show these PEX connections are more susceptible to failure; because PEX is more malleable than metal, the fitting’s teeth can slide off the pipe. Higher cost compared to clamp and crimp.
Expansion
How it’s done:
- Slide a PEX expansion ring over the end of the pipe.
- Expand the pipe with an expansion tool until the pipe reaches the head of the tool.
- Insert an ASTM F1960 fitting.
Pros: Fast and easy to learn, quick to install, maximizes the shape memory of PEX (pipe and ring are always pressing down onto the fitting), larger-ID fitting improves flow, impossible to dry-fit, approved for direct burial in soil as well as concrete, eliminates the need for go/no-go gauges or tool calibration.
Cons: Sealing time takes longer in cold weather (below 40 F), products and tools only available through professional plumbing supply distributors to trained installers.
Expansion with compression
How it’s done:
- Slide a metal sleeve onto the pipe far enough to leave room for inserting the fitting.
- Using a special tool with an expander head on one side and compression jaws on another, make one expansion with the pipe, then rotate the tool to make another expansion.
- Insert an ASTM F2080 fitting.
- Turn the tool around to use the compression jaws to compress the sleeve over the pipe and fitting.
Pros: Immediate pressure testing, no issues with cold temperatures, better system flow.
Cons: Two-step process can take more time, and it can be hard to maneuver the tool into tight spaces to make the compression portion of the connection. There is potential for injury due to pinch point area near the compression jaws. Tools and products only sold through professional plumbing supply distributors.
One last word of advice
Understanding the benefits and challenges of each PEX connection method is important, but it won’t help you if you start mixing brands and need service or support. Certain PEX pipe and fittings are designed and manufactured to work together for the strongest performance, so mixing brands can potentially compromise the installation integrity.
Also, most PEX manufacturers offer a warranty on their pipe and fittings; coverage can be reduced or even voided if installers mix brands.
Simply put — protect your reputation and have greater peace of mind using the same brand of PEX pipe and fittings. You’ll have confidence knowing that a full warranty and customer support cover the system you’re installing.
If you’d like to learn more about PEX and the manufacturers for North America, visit the Plastics Pipe Institute website at www.plasticpipe.org or the Plastic Pipe and Fittings Association website at www.ppfahome.org.